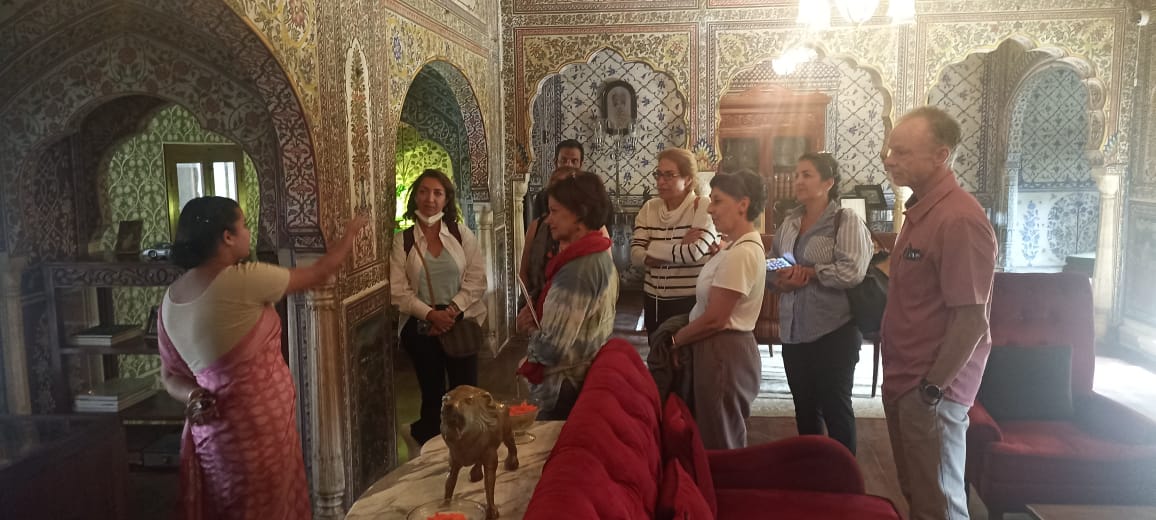
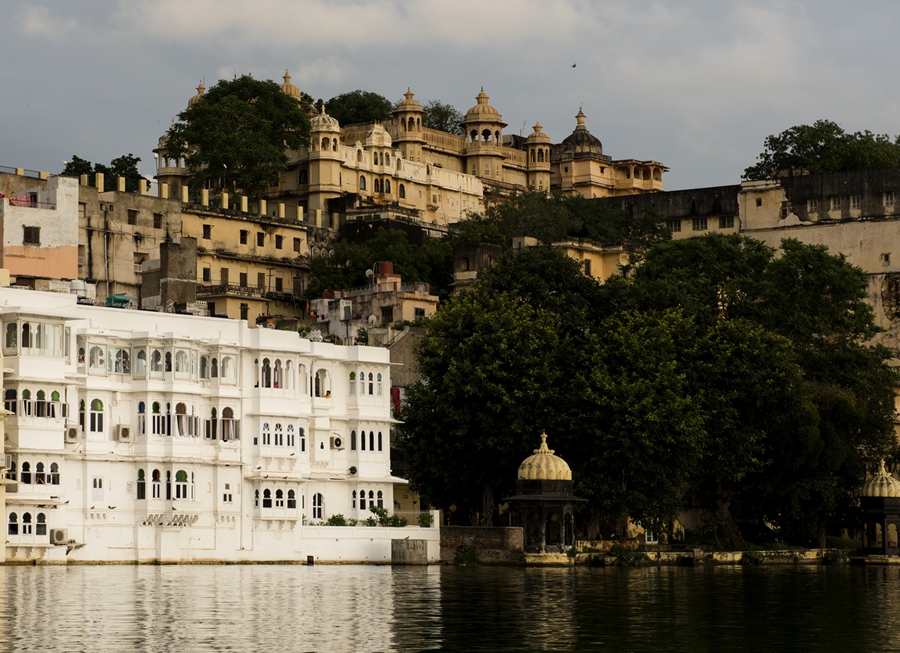
India, renowned for its rich cultural heritage and historical wonders, welcomes millions of tourists each year. For a seamless travel experience, acquiring an Indian e-Visa is the first step. This step-by-step guide will walk you through the entire process of applying for an Indian e-Visa online.
Starting the Indian E-Visa Application Process
To begin the e-Visa application process, you first need to visit the official Indian e-Visa portal here and click on the “APPLY HERE FOR E-VISA” option. The application form contains several questions that require accurate and detailed responses, so ensure you have sufficient time and all necessary documents at hand.
Remember: Be patient and thorough while filling out the form.
Filling in the First Page of the E-Visa Application
The initial page of the application form requires you to enter the following data:
- Type of passport (Select ‘ordinary passport’ from the drop-down menu)
- Nationality
- Arrival airport (Select from the drop-down menu)
- Date of birth
- E-mail (Enter twice for confirmation)
- Date of arrival
- Type of visa (Select the appropriate option)
For the visa type, you can choose from a variety of options such as eTourist Visa, eMedical Visa, eBusiness Visa, eConference Visa, or EMedical Attendant Visa. The selection will depend on the purpose of your visit.
After filling in the necessary details, proceed by clicking ‘Continue’. You will be prompted to provide recent color photos and a copy of your passport.
Tip: To assist you in the application process, the Government of India provides a guide, which is available for download here.
Warning: If you delay in completing the first page, the system might suspend the operation. In such a scenario, you will receive an email containing a link to resume the application and a security code.
Filling in the Second Page of the E-Visa Application
Upon clicking ‘Continue’, you will be directed to the second page of the registration form. Here, you have to provide personal details including:
- Surname
- Name
- Gender
- Date of birth
- City of birth
- Country of birth
- Identity card number
- Religious faith
- Special marks (if any)
- Educational qualification
- Nationality
- Method of obtaining citizenship
- Certification of at least 2 years residence in the country from which you apply for the visa
- Passport details
After filling in all the fields, you can either save the entered data and continue the process by clicking on “SAVE AND CONTINUE” or save the data and temporarily exit the process by clicking on “SAVE AND TEMPORARILY EXIT”.
Remember: All fields are mandatory for proceeding to the next screen.
The Second Half of the Second Page of the E-Visa Application
The second half of the second page requires you to provide the following details:
- Your address
- Province
- Postal code
- Landline number (optional)
- Mobile number (optional)
- E-mail address (Enter twice for confirmation)
- Information about your parents
- Marital status
- Whether you have any Pakistani parents or grandparents
- Current occupation
- Employer’s name
- Workplace address
- Previous occupation
- Whether you are affiliated with the police, army or security
You can again choose to save and continue or save and temporarily exit the process, taking note of your Application ID.
Filling in the Third Page of E-Visa Application
On the third page of the application form, you need to provide information about your visit, including:
- Indian cities you intend to visit
- The city from which you’ll depart India
- Whether you’ve visited India before (If yes, mention the cities visited)
- The number of your previous visa (if applicable)
- Whether your visa was denied previously
- Countries visited in the last 10 years
- Whether you’ve visited any SAARC countries in the last 3 years
- Contact person in India
- Contact person in your country
Ensure all information provided is true. Any discrepancy found may lead to visa denial.
Uploading Documents
Apart from filling in the necessary details, you also need to upload a recent photograph and a copy of your passport page containing your details. Make sure the uploaded files are clear and readable, and the photo should be of the specified dimensions.
Making the Payment
The final step of the application process is the payment of the e-Visa fee, which is approximately $80, plus a processing fee of 2.5%. The fee is non-refundable even if the application is rejected. Payment can be made through SBIePay or AXIS BANK.
Confirming the E-Visa Approval
Upon successful payment, you will receive an email acknowledging receipt and registration of your application. However, this doesn’t imply the approval of your visa. The final confirmation email should arrive within the next 72 hours. Once you receive this email, print it out and keep it along with your passport and boarding pass to present to the authorities upon arrival in India.
If you do not receive the confirmation email within 72 hours, check the status of your e-Visa here.
It’s important to remember that the process of obtaining an Indian e-Visa may seem complex, but with patience and attention to detail, it’s a manageable task. Happy travels!
If you wish to receive more information or to begin crafting your personalized journey to India, please do not hesitate to reach out to us.
info@castleandking.com// +91 9818885102